Sophie Hatter Dress- Part 2
- Samantha Lavan
- Nov 22, 2018
- 2 min read
Updated: Jan 30, 2019
Part 2: Foundation Garments
This post will be a review about construction and my experience with the foundation patterns I used for the Sophie dress!
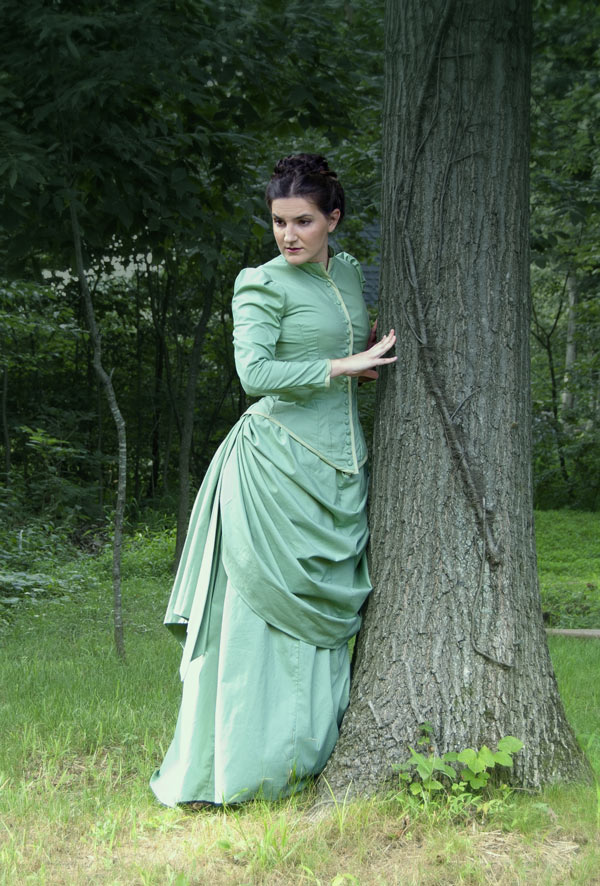
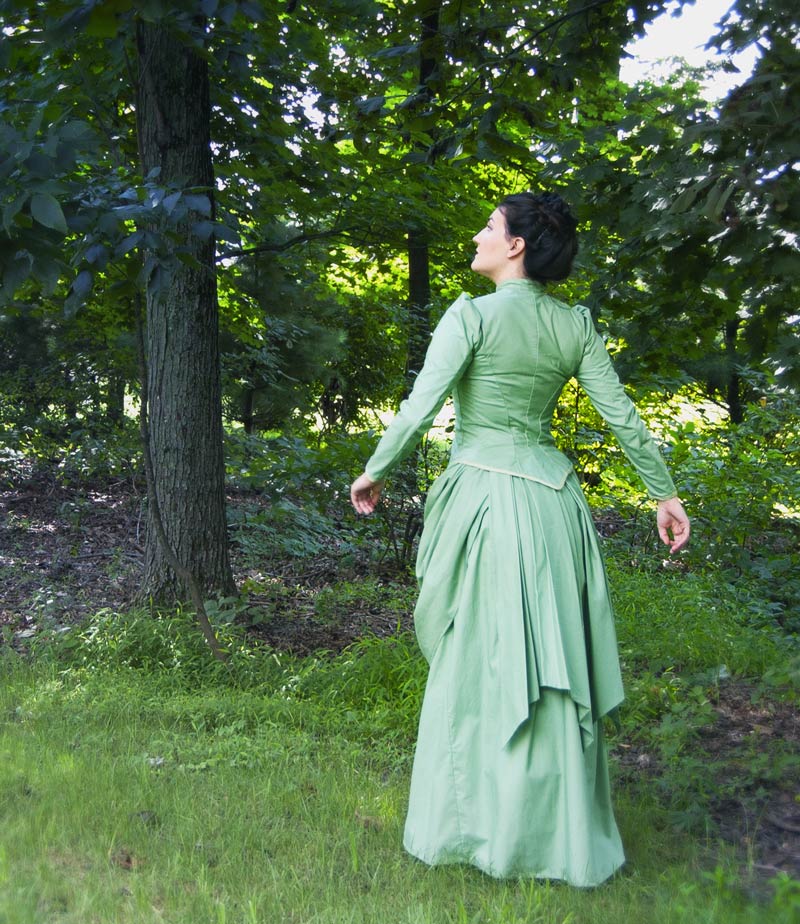
This is the look of the dress from a few months ago to give you an idea of where we're going. I've since added boning to the bodice (which fixes any wrinkling you see in the photos above).
SUPPLIES:
I started with the TV101 "Petticoat with Wire Bustle" pattern. Constructing this part was probably the most frustrating because sewing hubris got the better of me and I assumed that I knew how things fit together. (Spoiler: I did not)

For the foundations I used mid-weight linen for the bustle and striped cotton lawn for the petticoat. I bought these from Renaissance Fabrics. I also bought pre-measured and capped wire from Truly Victorian to keep things as simple as possible.
BUSTLE REVIEW:
The bustle was fairly straightforward to construct. I really liked the way the back was structured because you can untie the hoops to collapse or adjust it. I've included a graphic of this because it's where I got confused (mostly because I skimmed the pattern). On that same diagram I've used a red circle to indicate the place where the bones end and I would suggest reinforcing this area when you sew the bones in. My bones kept worming their way out!

All things said and done, it came together nicely once I got the bones tied. Below are the pictures of the finished bustle, and also an image of how the bustle looks when the bones are NOT tied. Don't let your bustle be sad and flat- tie your bones!!
(NOTE: I didn't include the ruffled petticoat portion that came with this pattern. This was because I didn't have enough fabric at the time and I knew I'd be doing a separate petticoat. After wearing it I think I want to go back and include this portion.)
PETTICOAT REVIEW:
Next I moved on to the petticoat!

This was created with TV170 (Victorian Petticoats). I used a beautiful striped cotton lawn from Renaissance Fabrics. I loved working with this fabric because it was so delicate.
The construction of the petti was fairly straightforward. The waistband ended up being too large so I brought it in a few inches. (I did this with all the components that fastened around my waist)
The trickiest part of this pattern was definitely the tucks- which I had never done before. I would definitely recommend watching a video of someone else doing them before attempting.
They were certainly time consuming, but I can't argue with the results because they add such a lovely touch.
CONCLUSIONS:
After wearing this around I think I should have made my petticoat in a slightly sturdier fabric. I chose a kona quilting cotton for the rest of the dress and I found that the cotton lawn provided less volume when it was weighed down by a heavier fabric.
Onward to part 3- the dress itself!


Comments